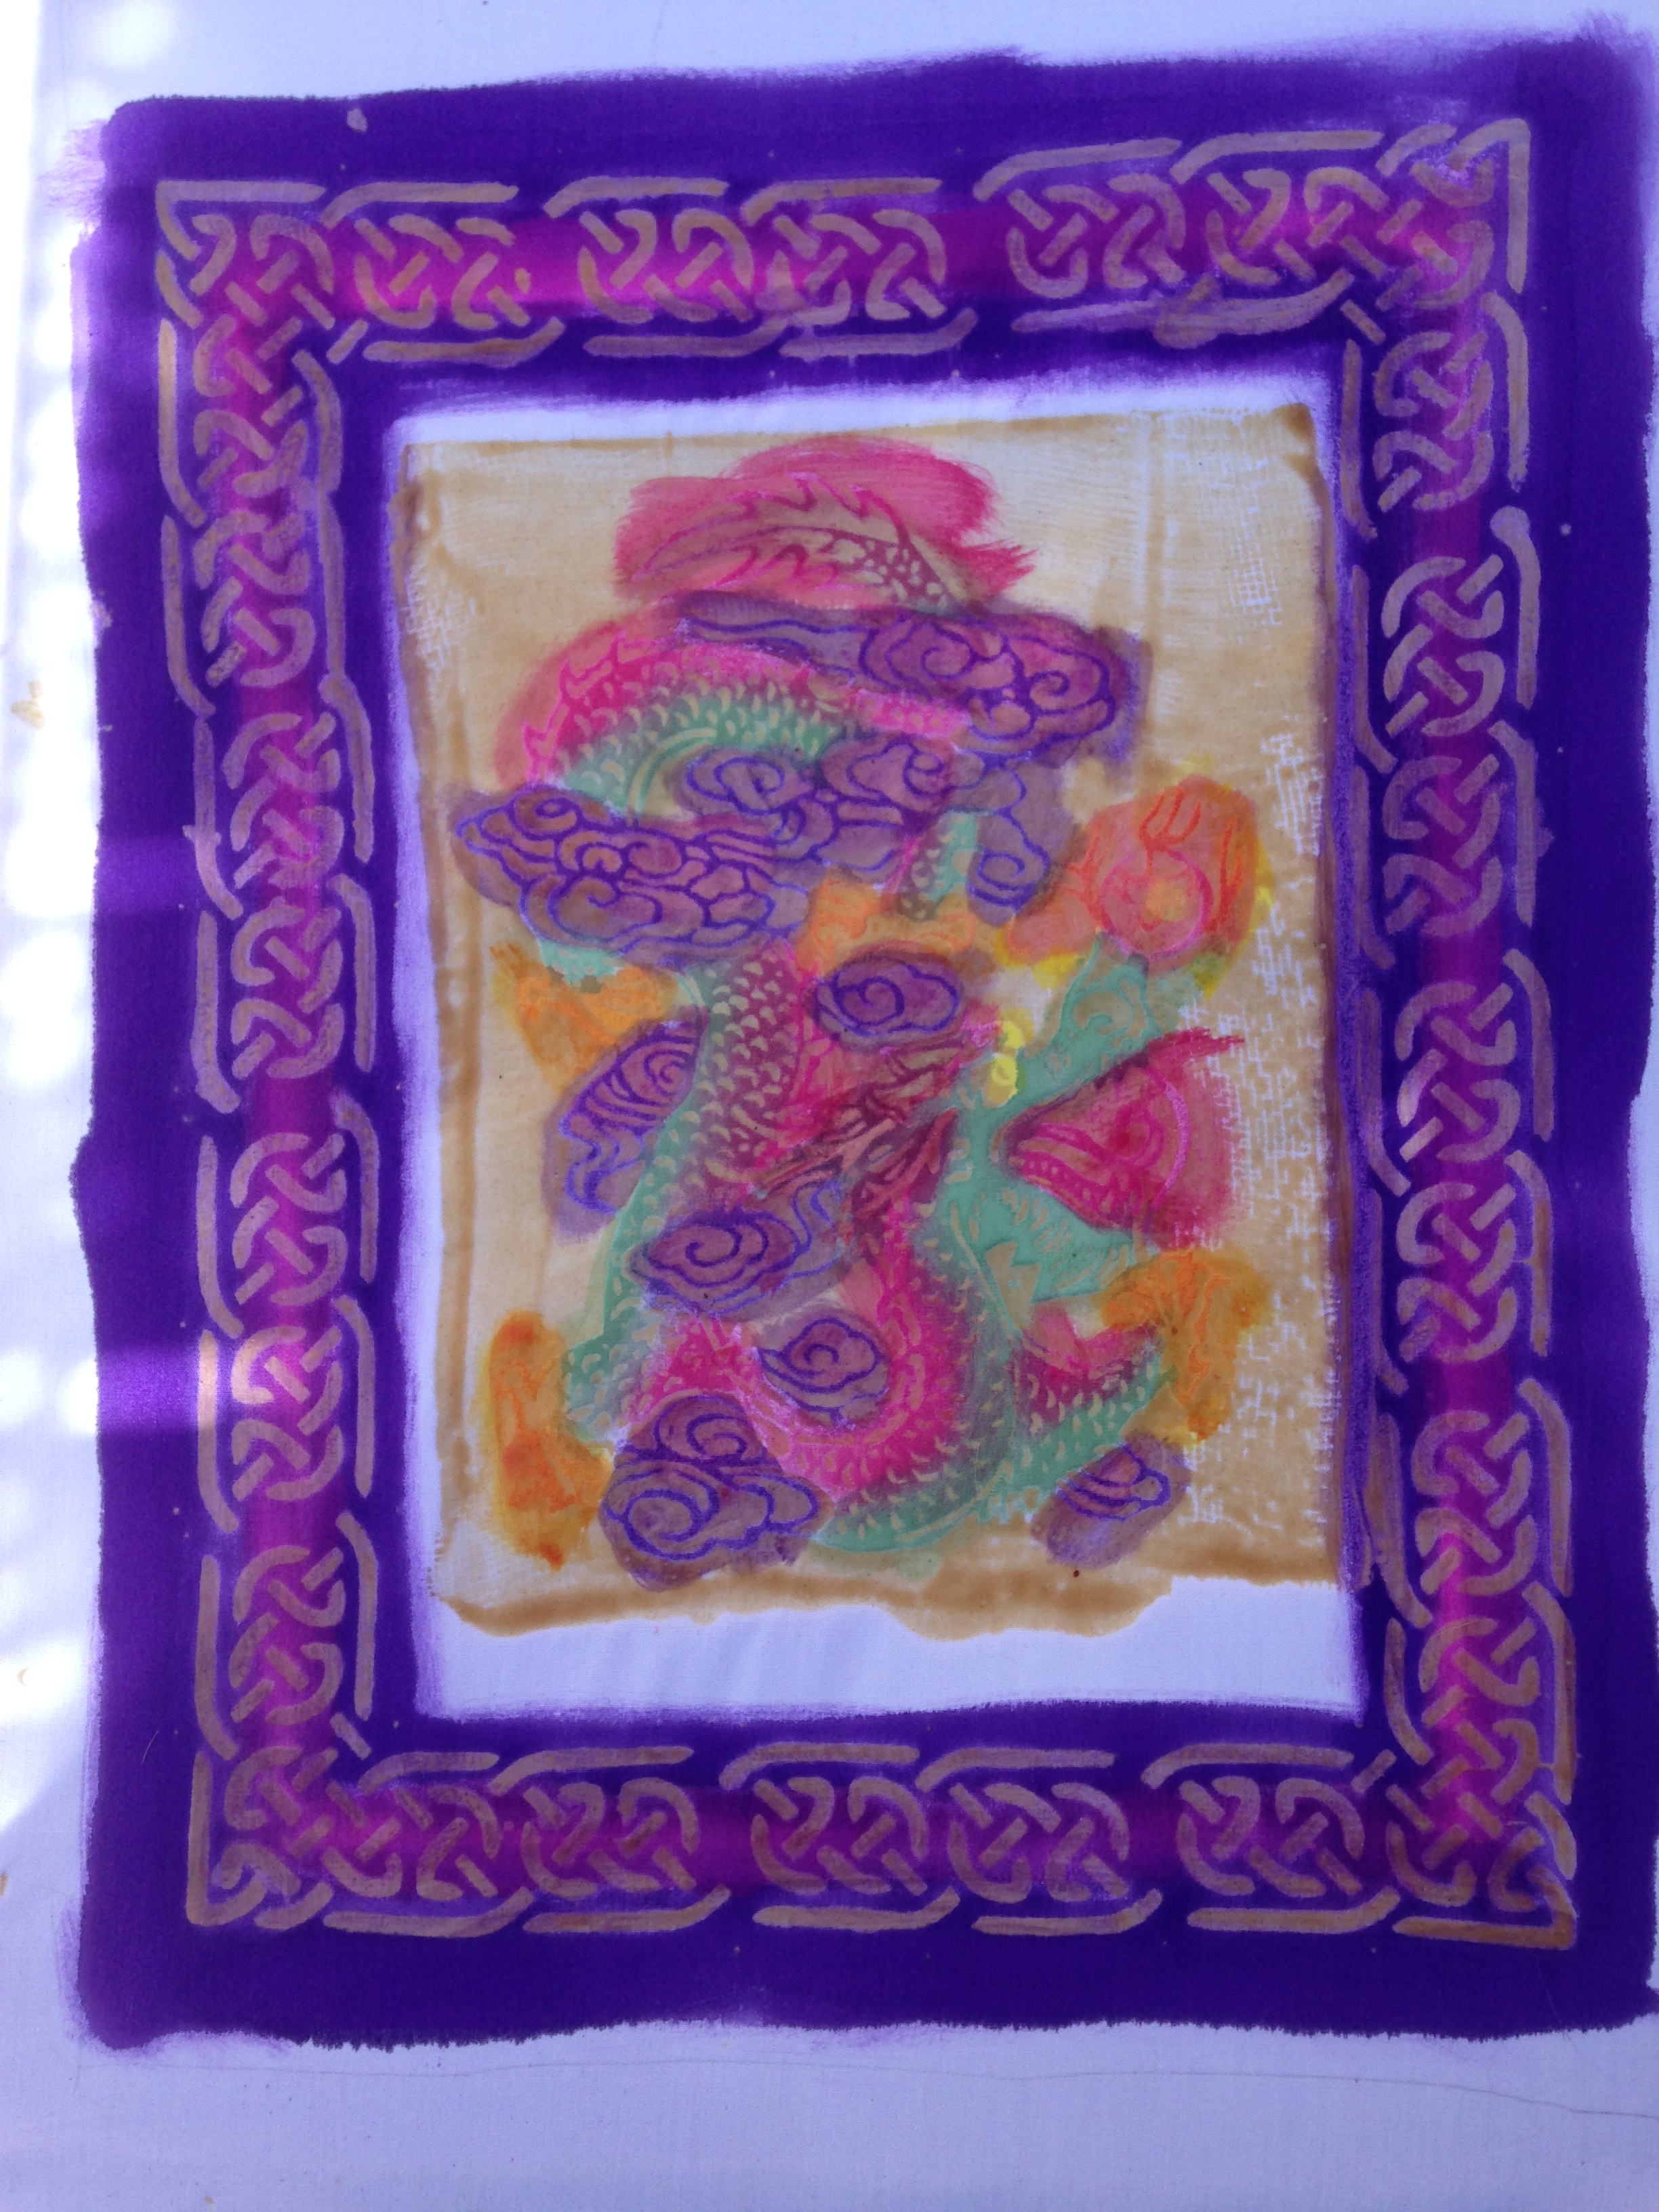
I’ve spent the last two and a half days working with katazome, the Japanese art of stenciled paste-resist dyeing. Friday I cooked up the paste, a mix of glutinous rice flour and powdered rice bran. Saturday, my friend Alfred and I pasted up some pieces – Alfred dipped his in an indigo vat, and I hand-painted some of mine. Here are “before” and “after” shots of my work:


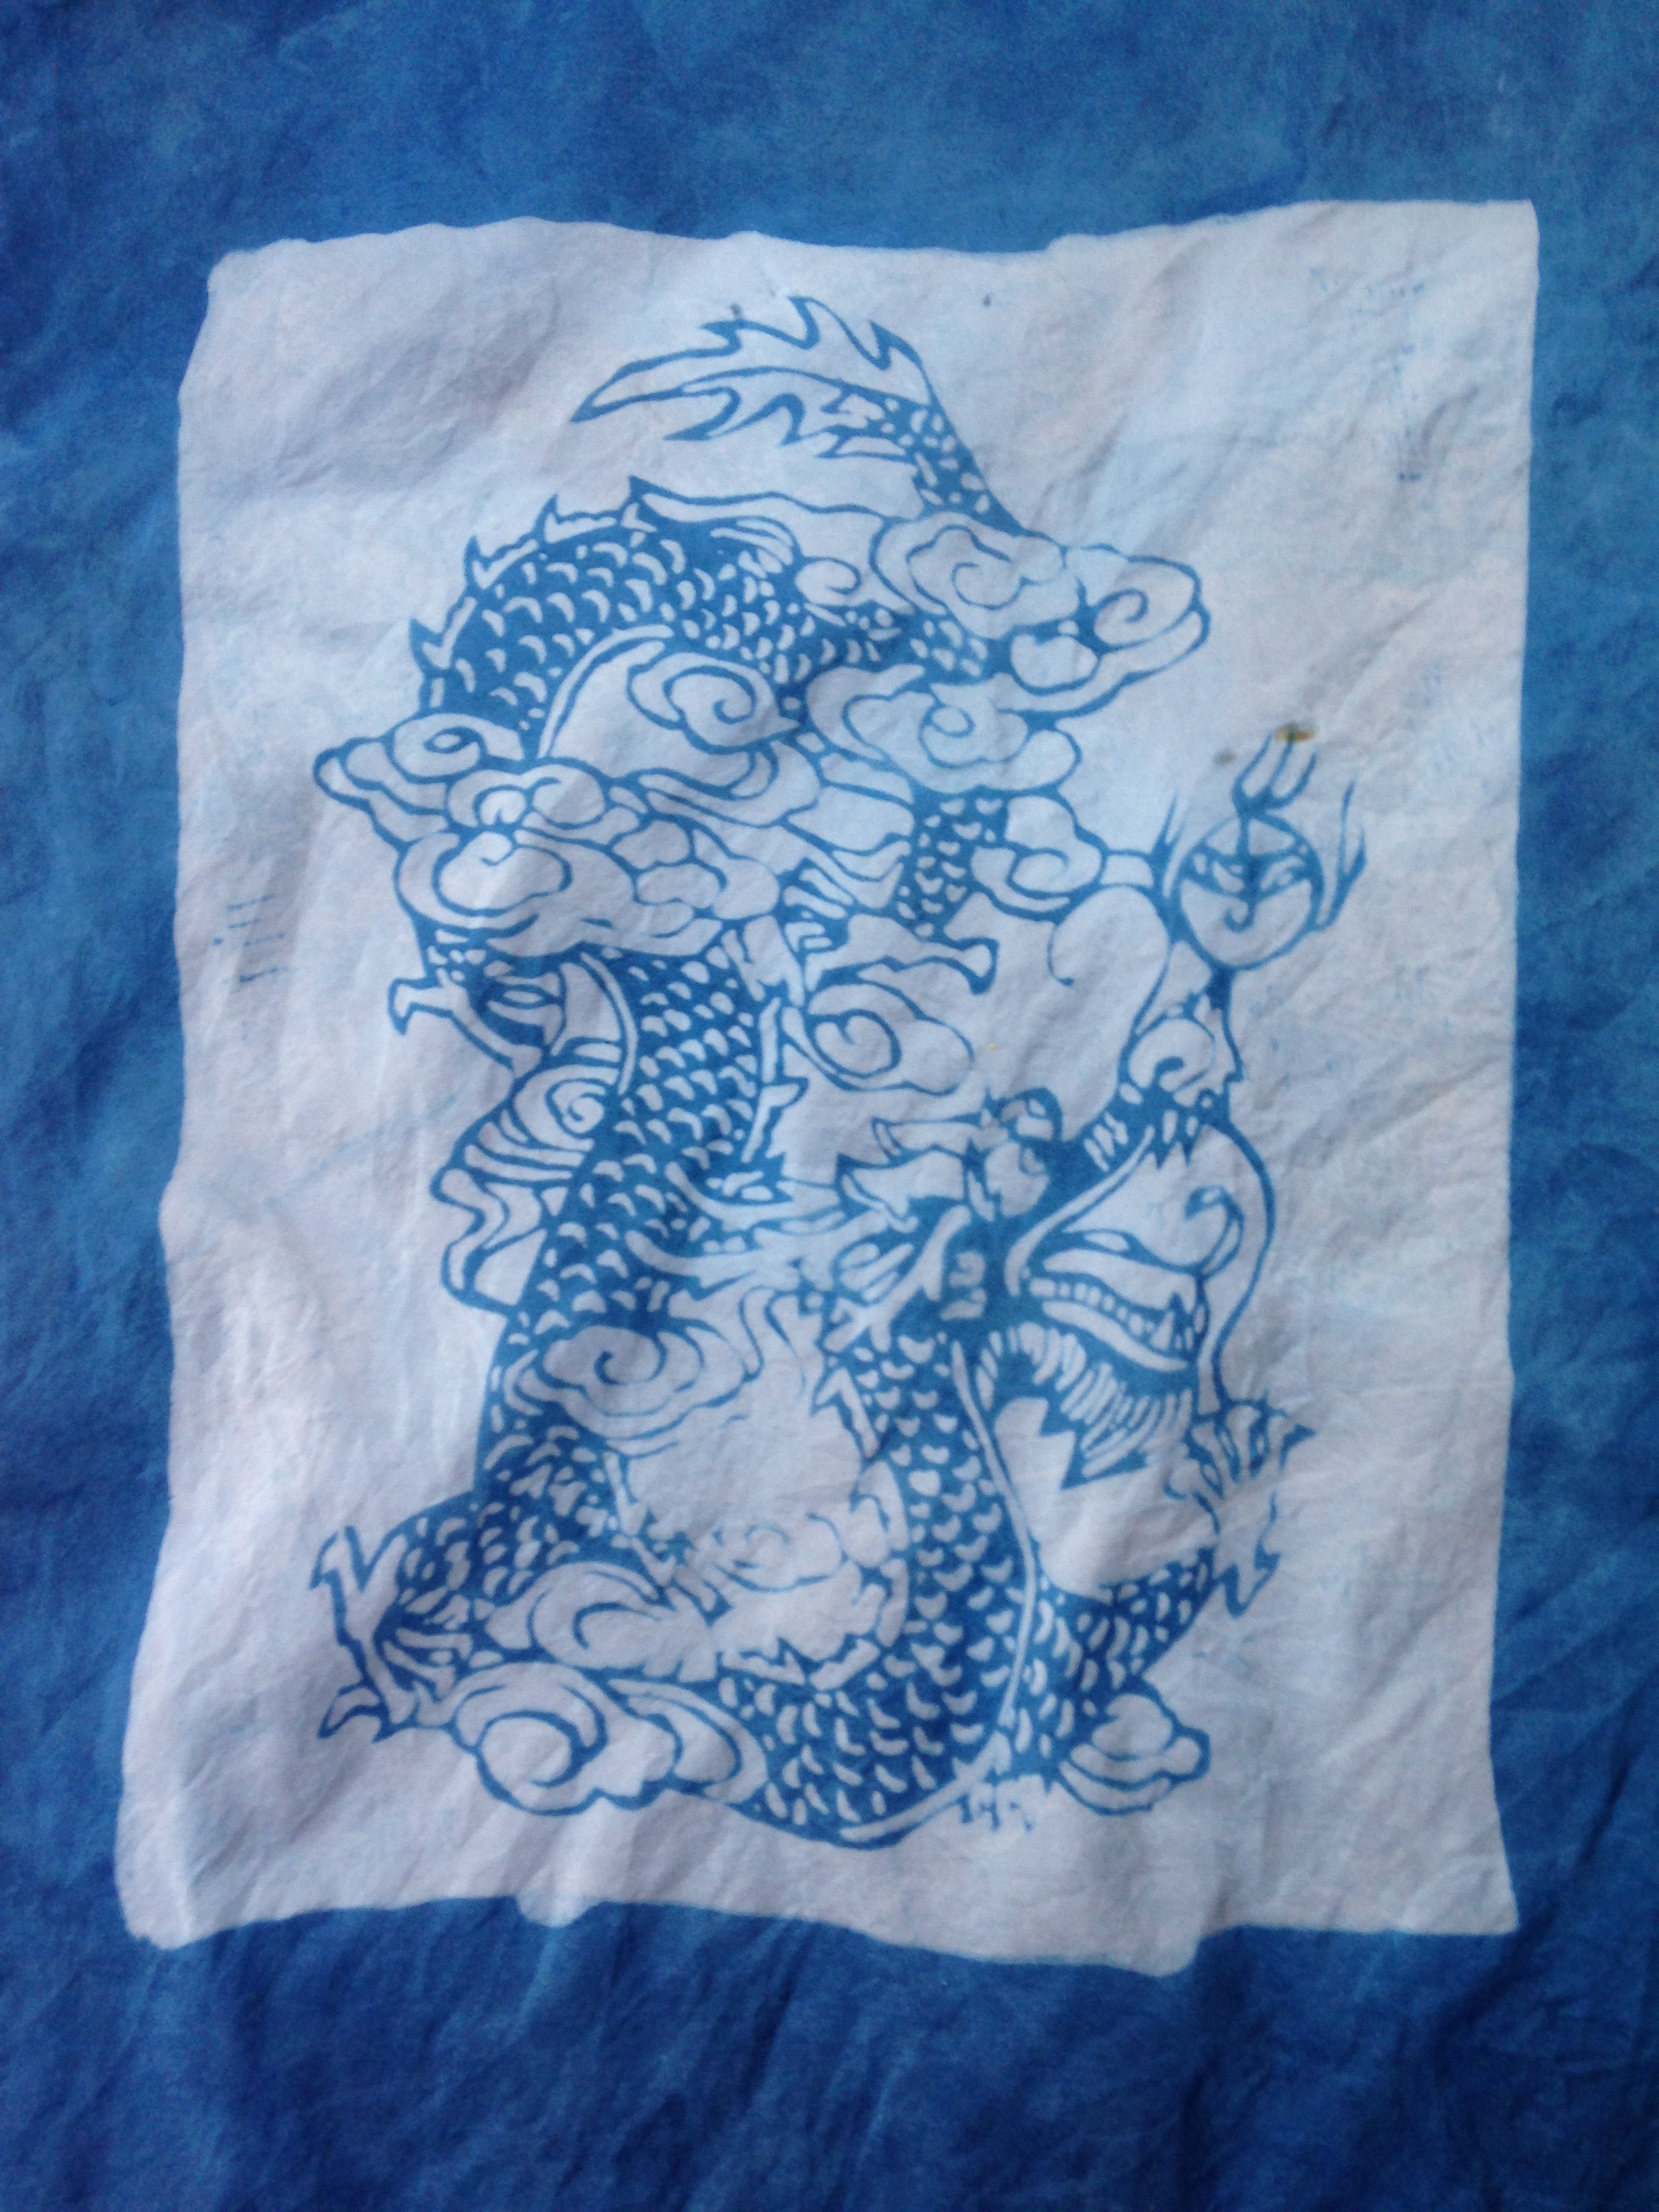
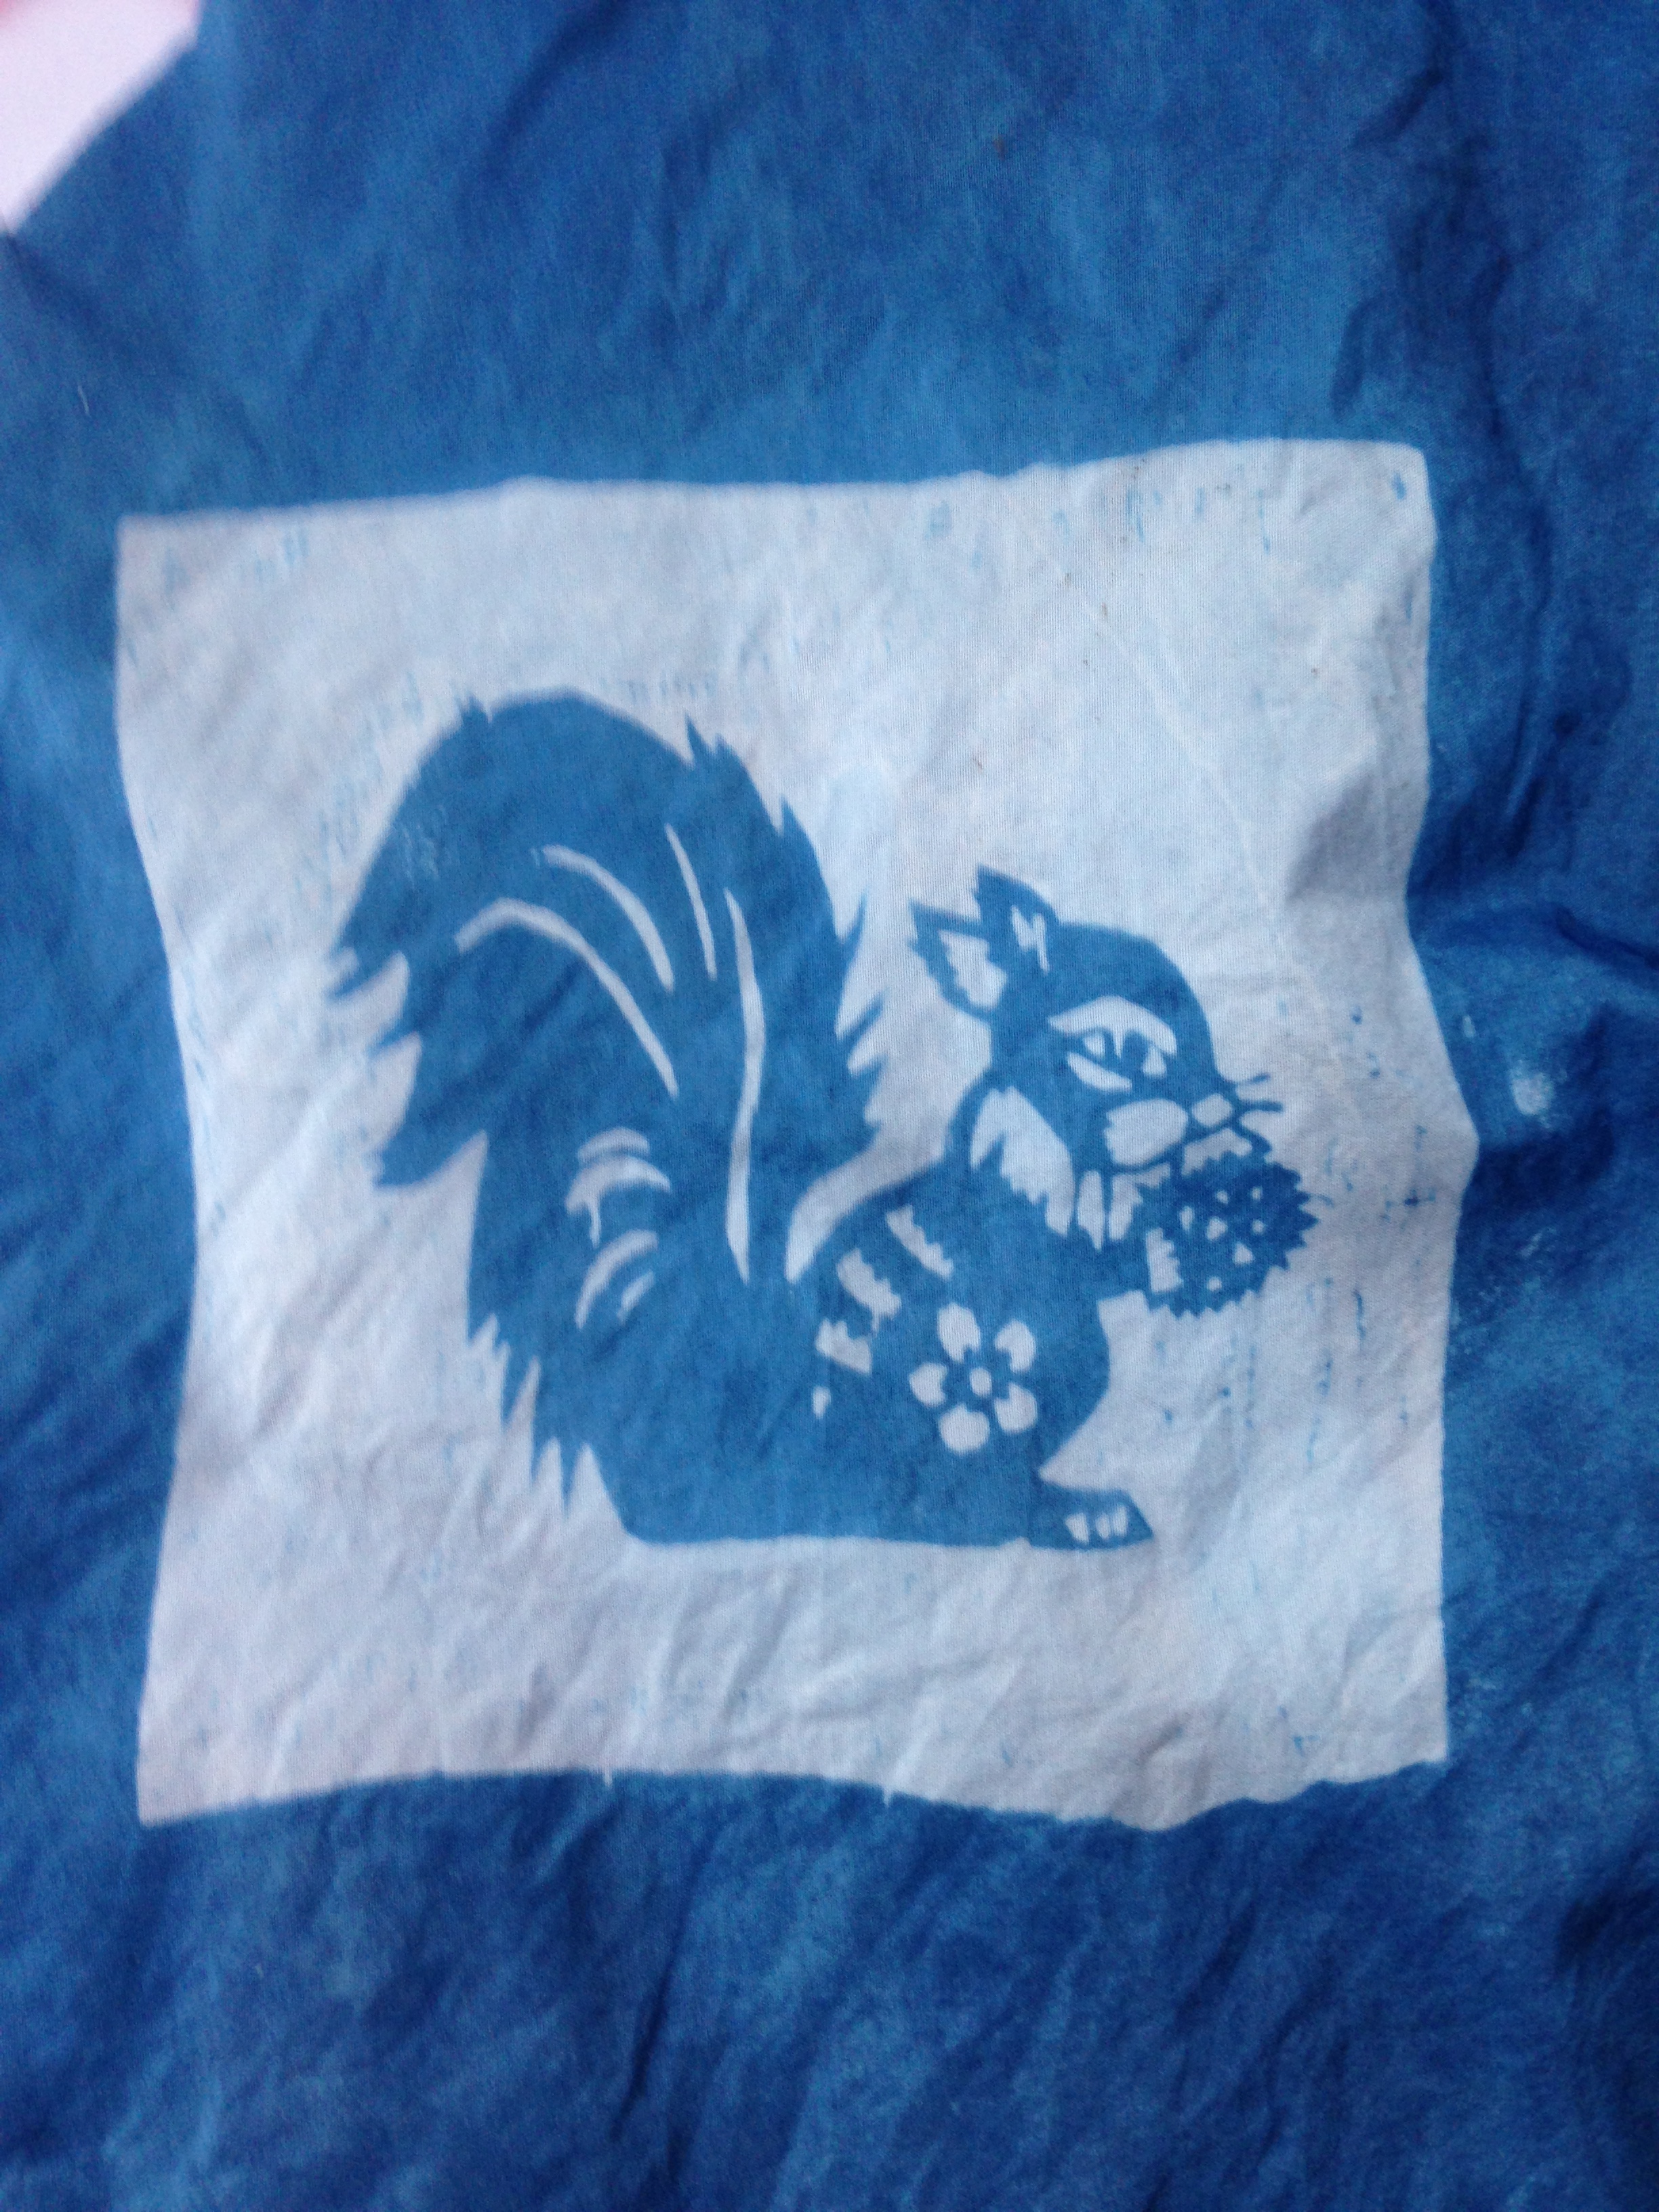
And here are some of the indigo-dyed versions:

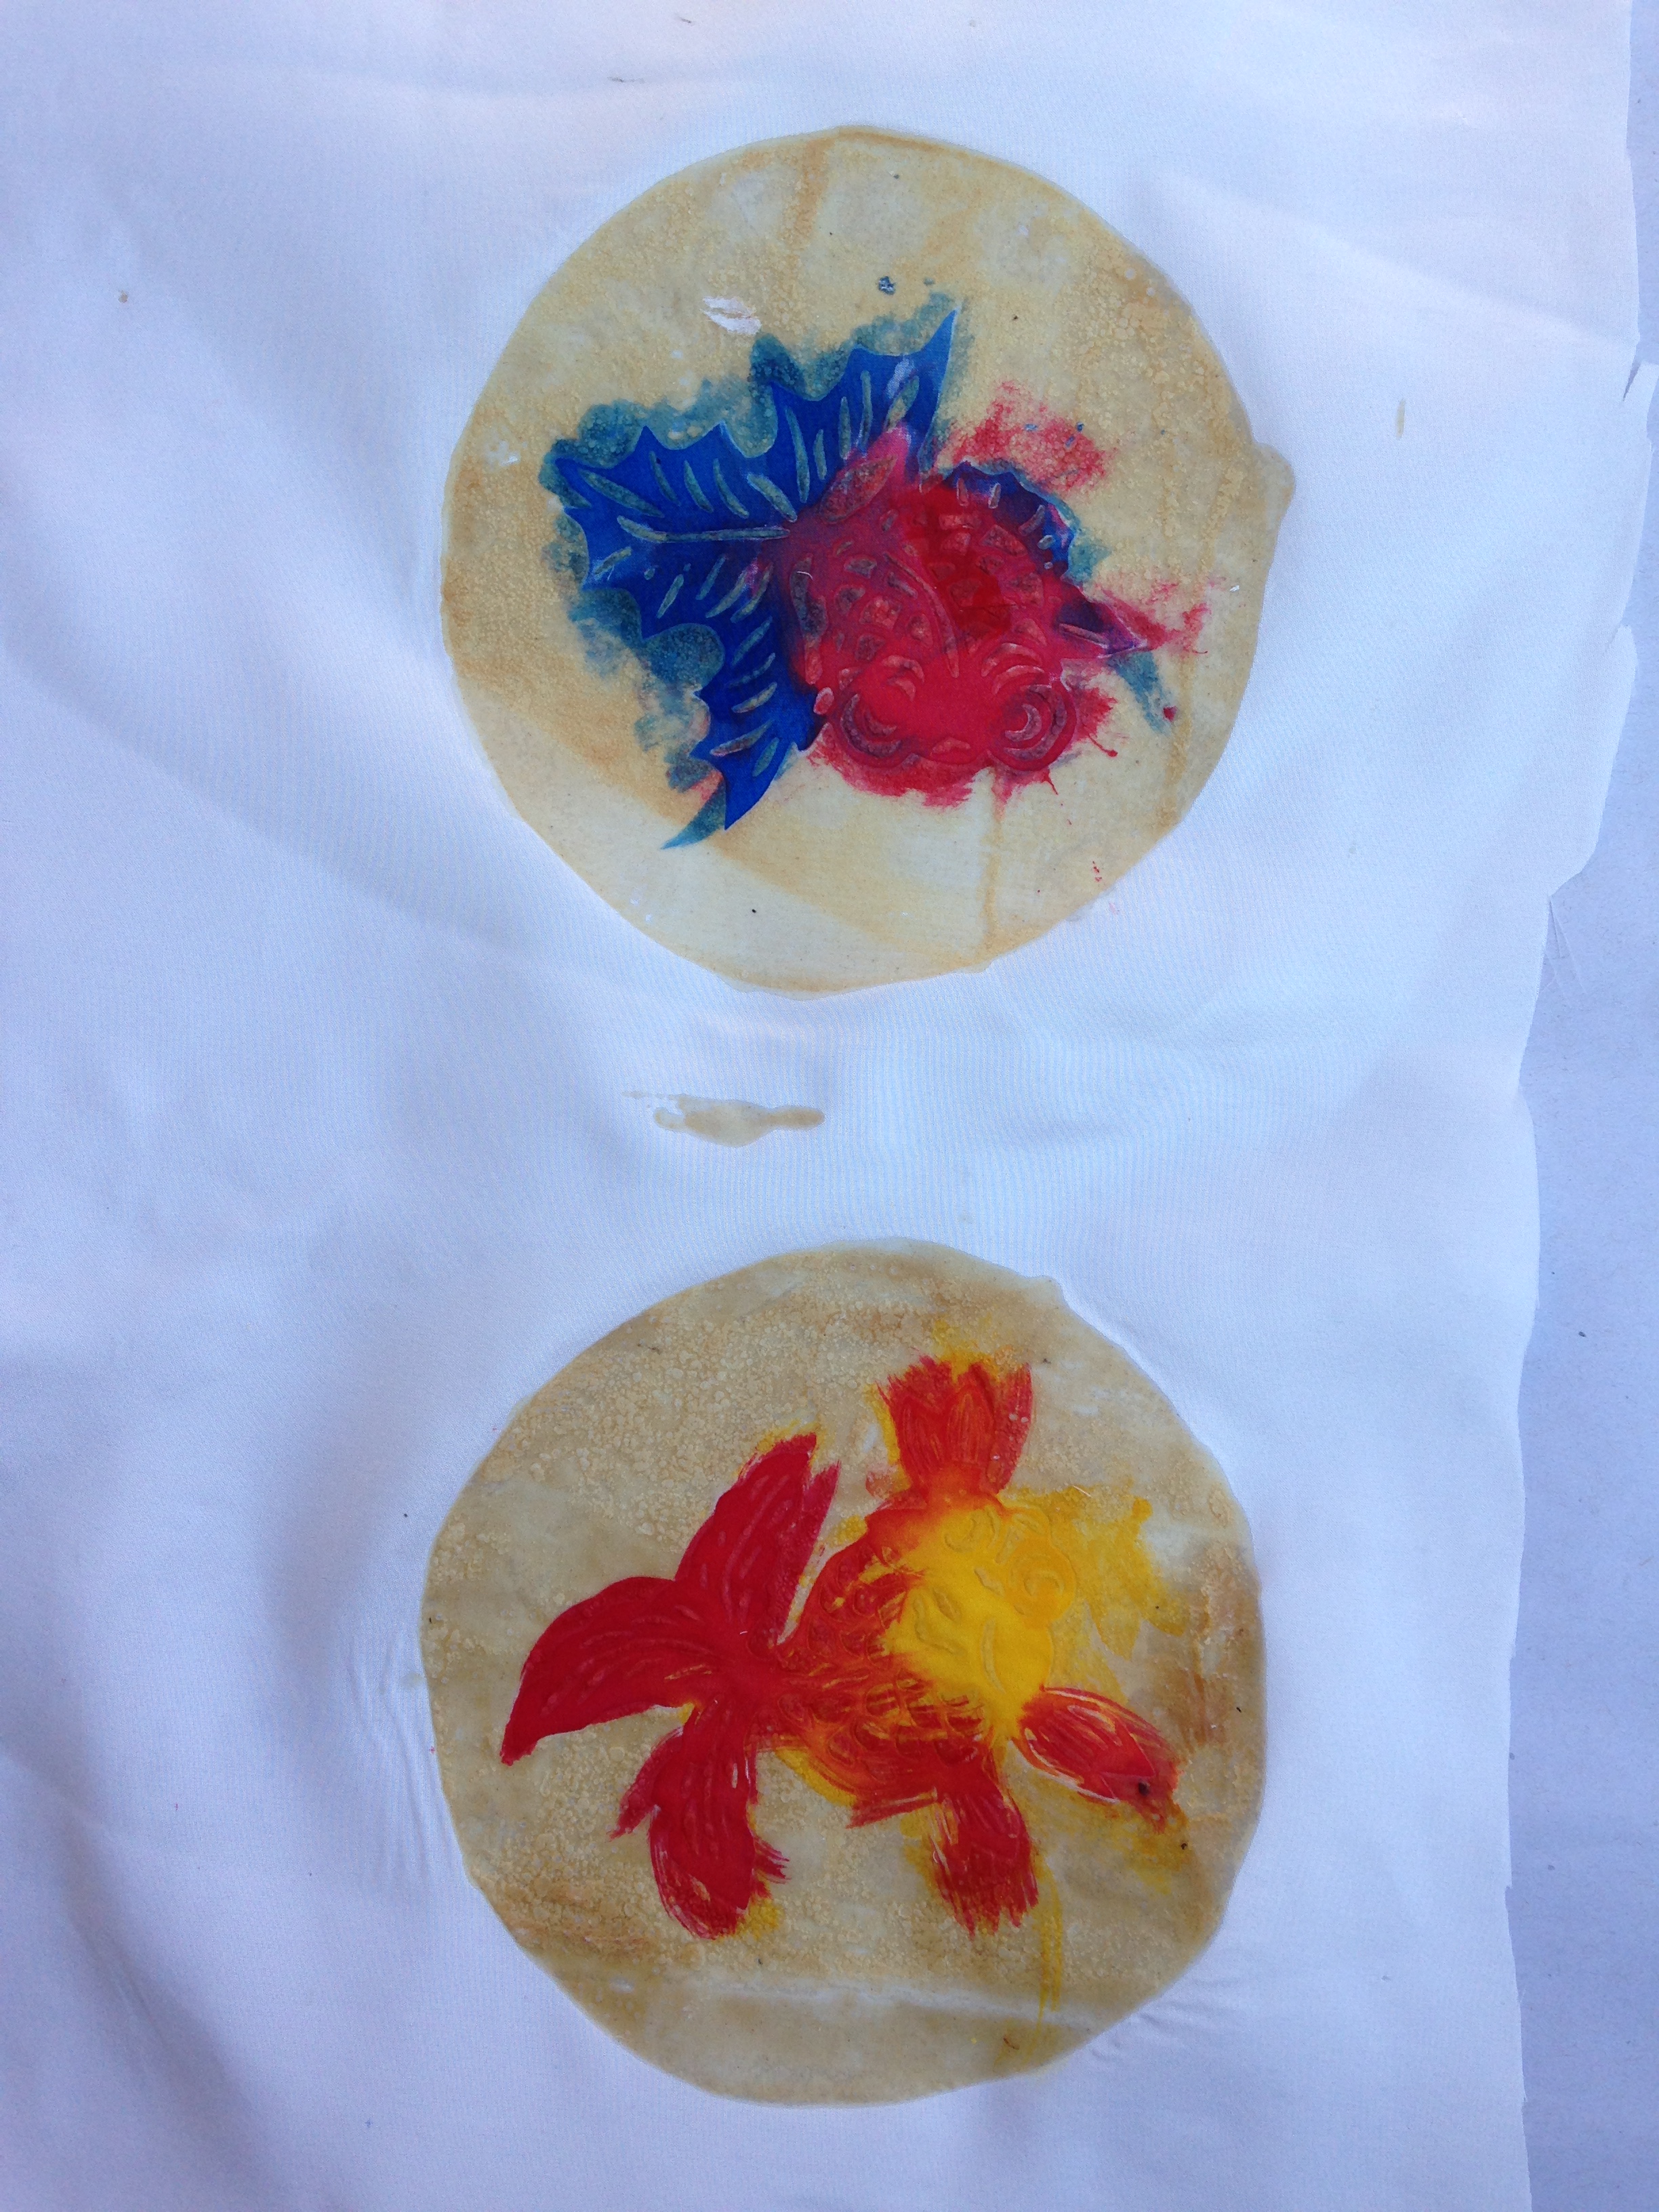
Saturday, Alfred and I also completed quite a few new stencils – applying paint and netting to one side, removing the excess paint, and drying them flat. I used those stencils yesterday, producing a ton of half-finished pieces. Here are two of them:
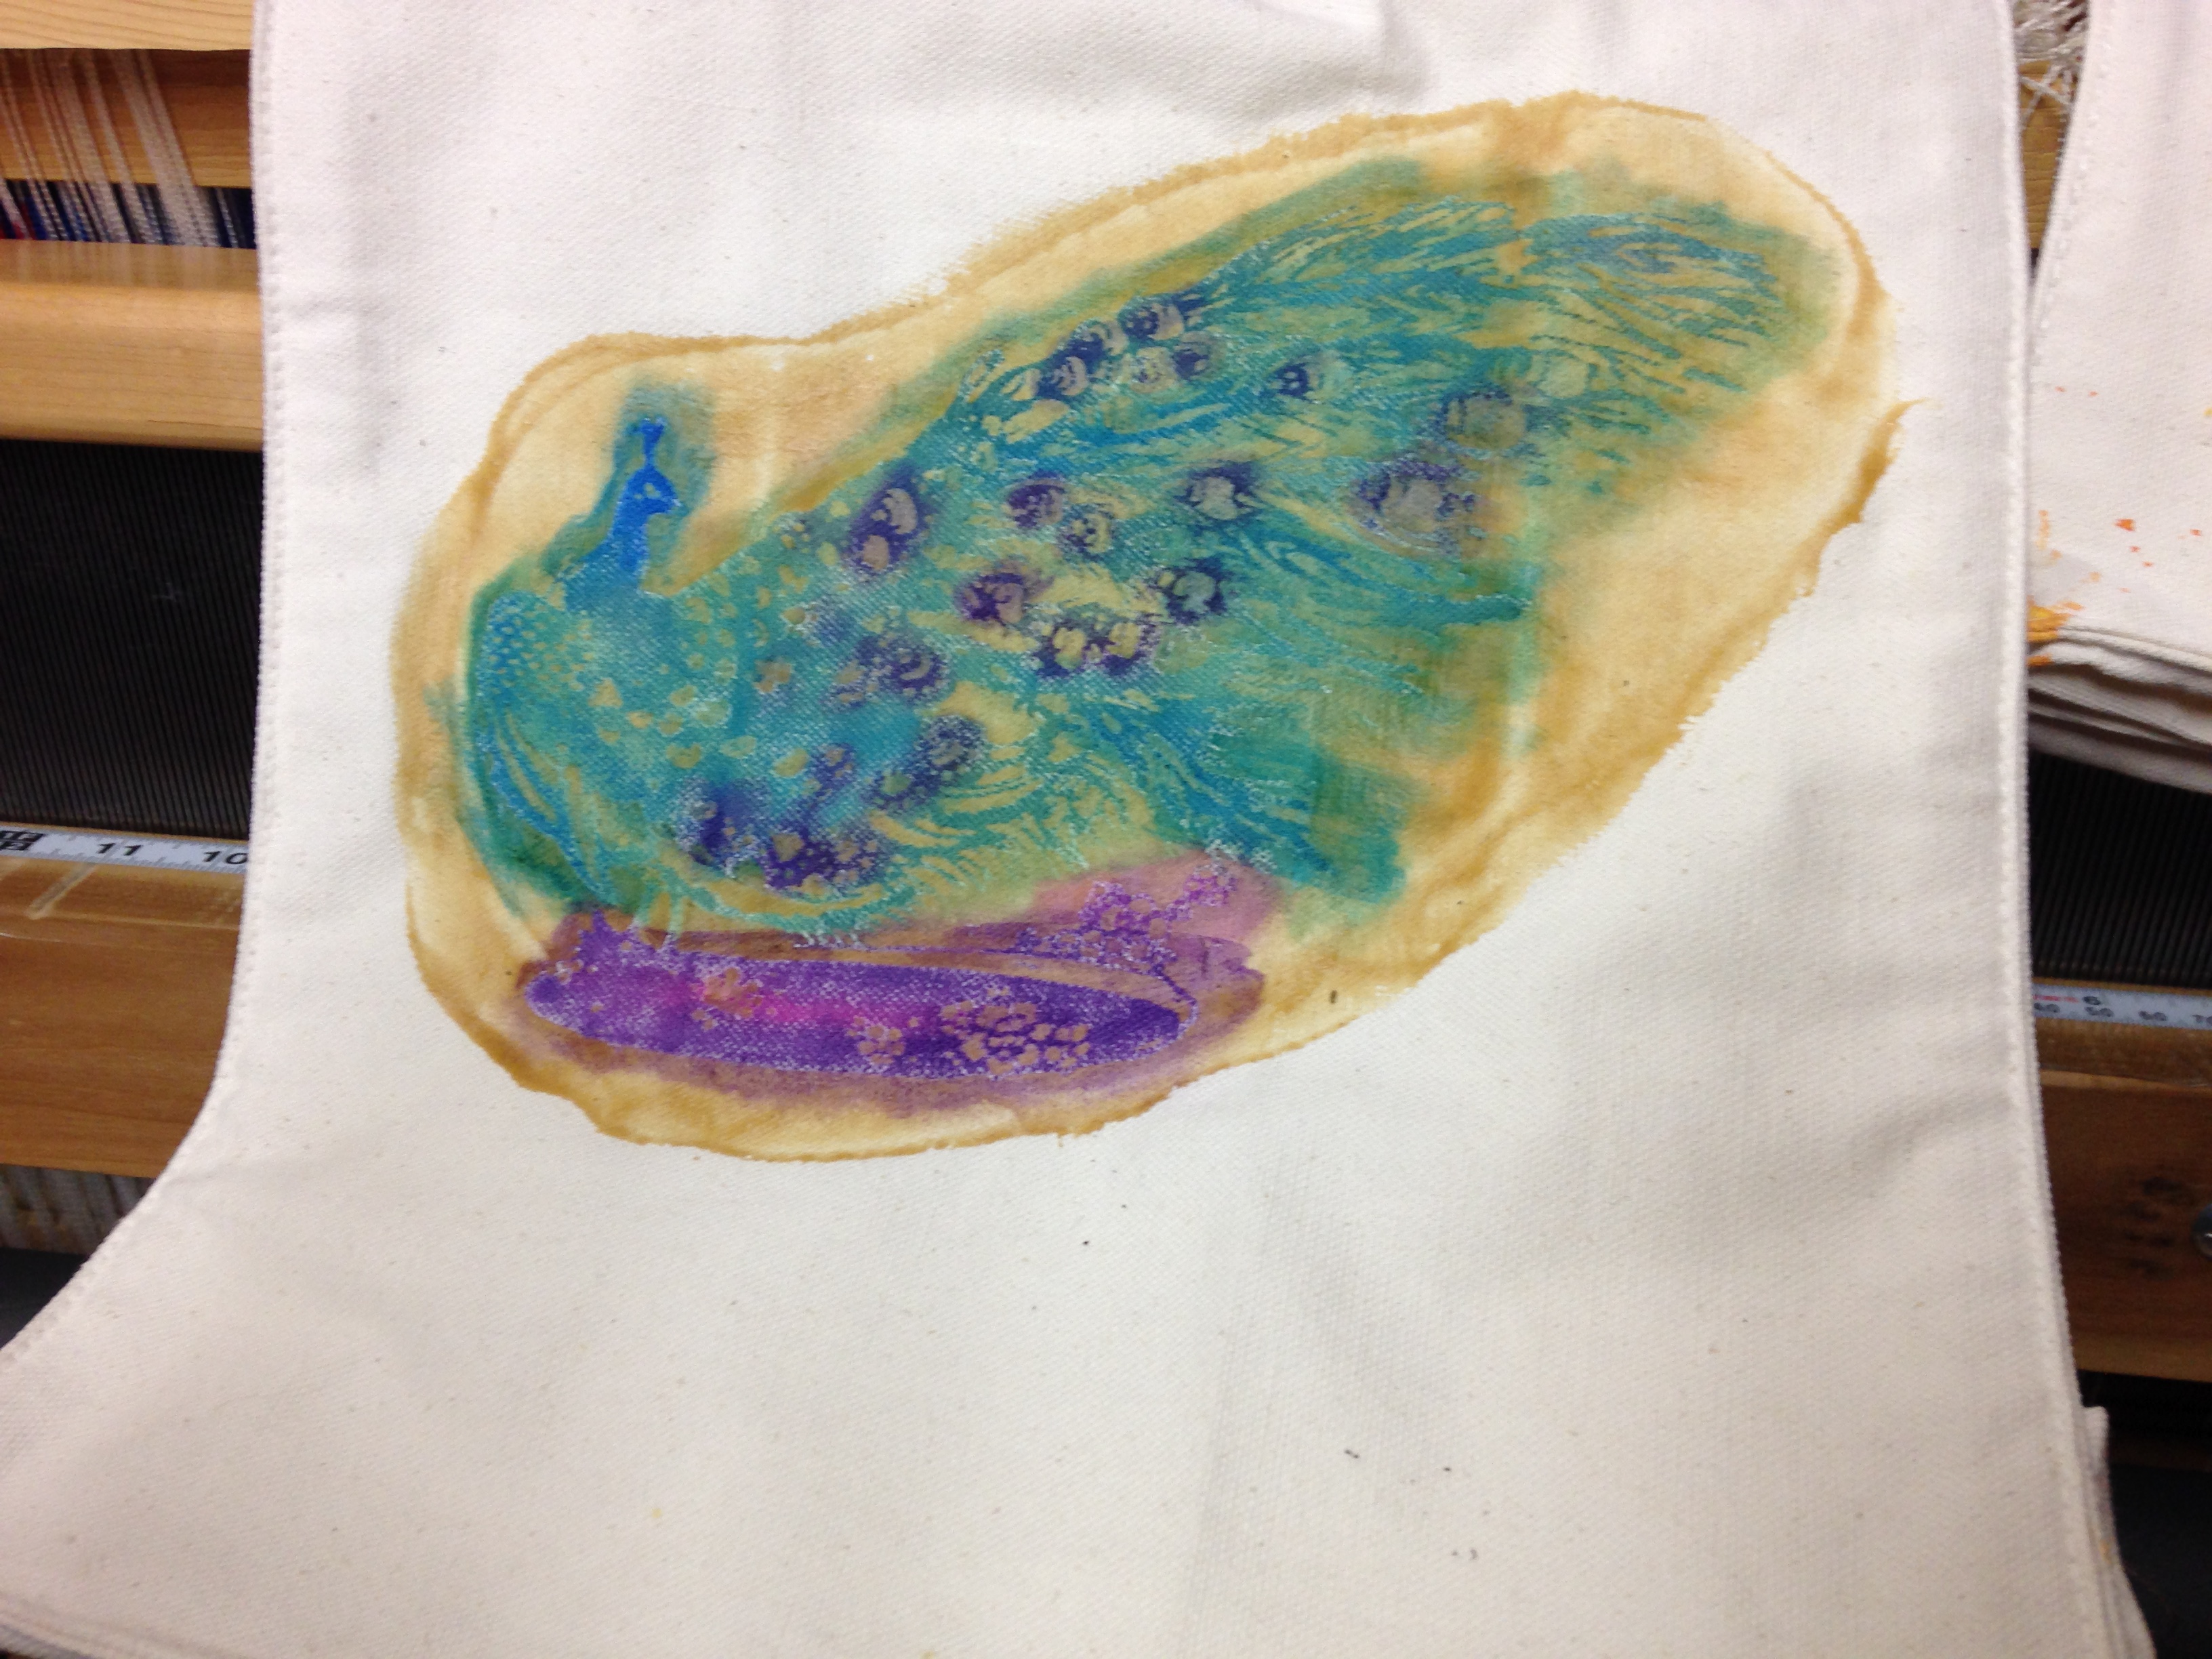
These will come out better than the first batch, I think, as I did them more “properly” than the first batch. Instead of painting onto untreated cloth pinned to a plastic background, I pre-sized the cloth with soy milk (which helps prevent bleeding) and stretched them out by pinning them to screen printing frames. Here’s a pic of the whole shebang:
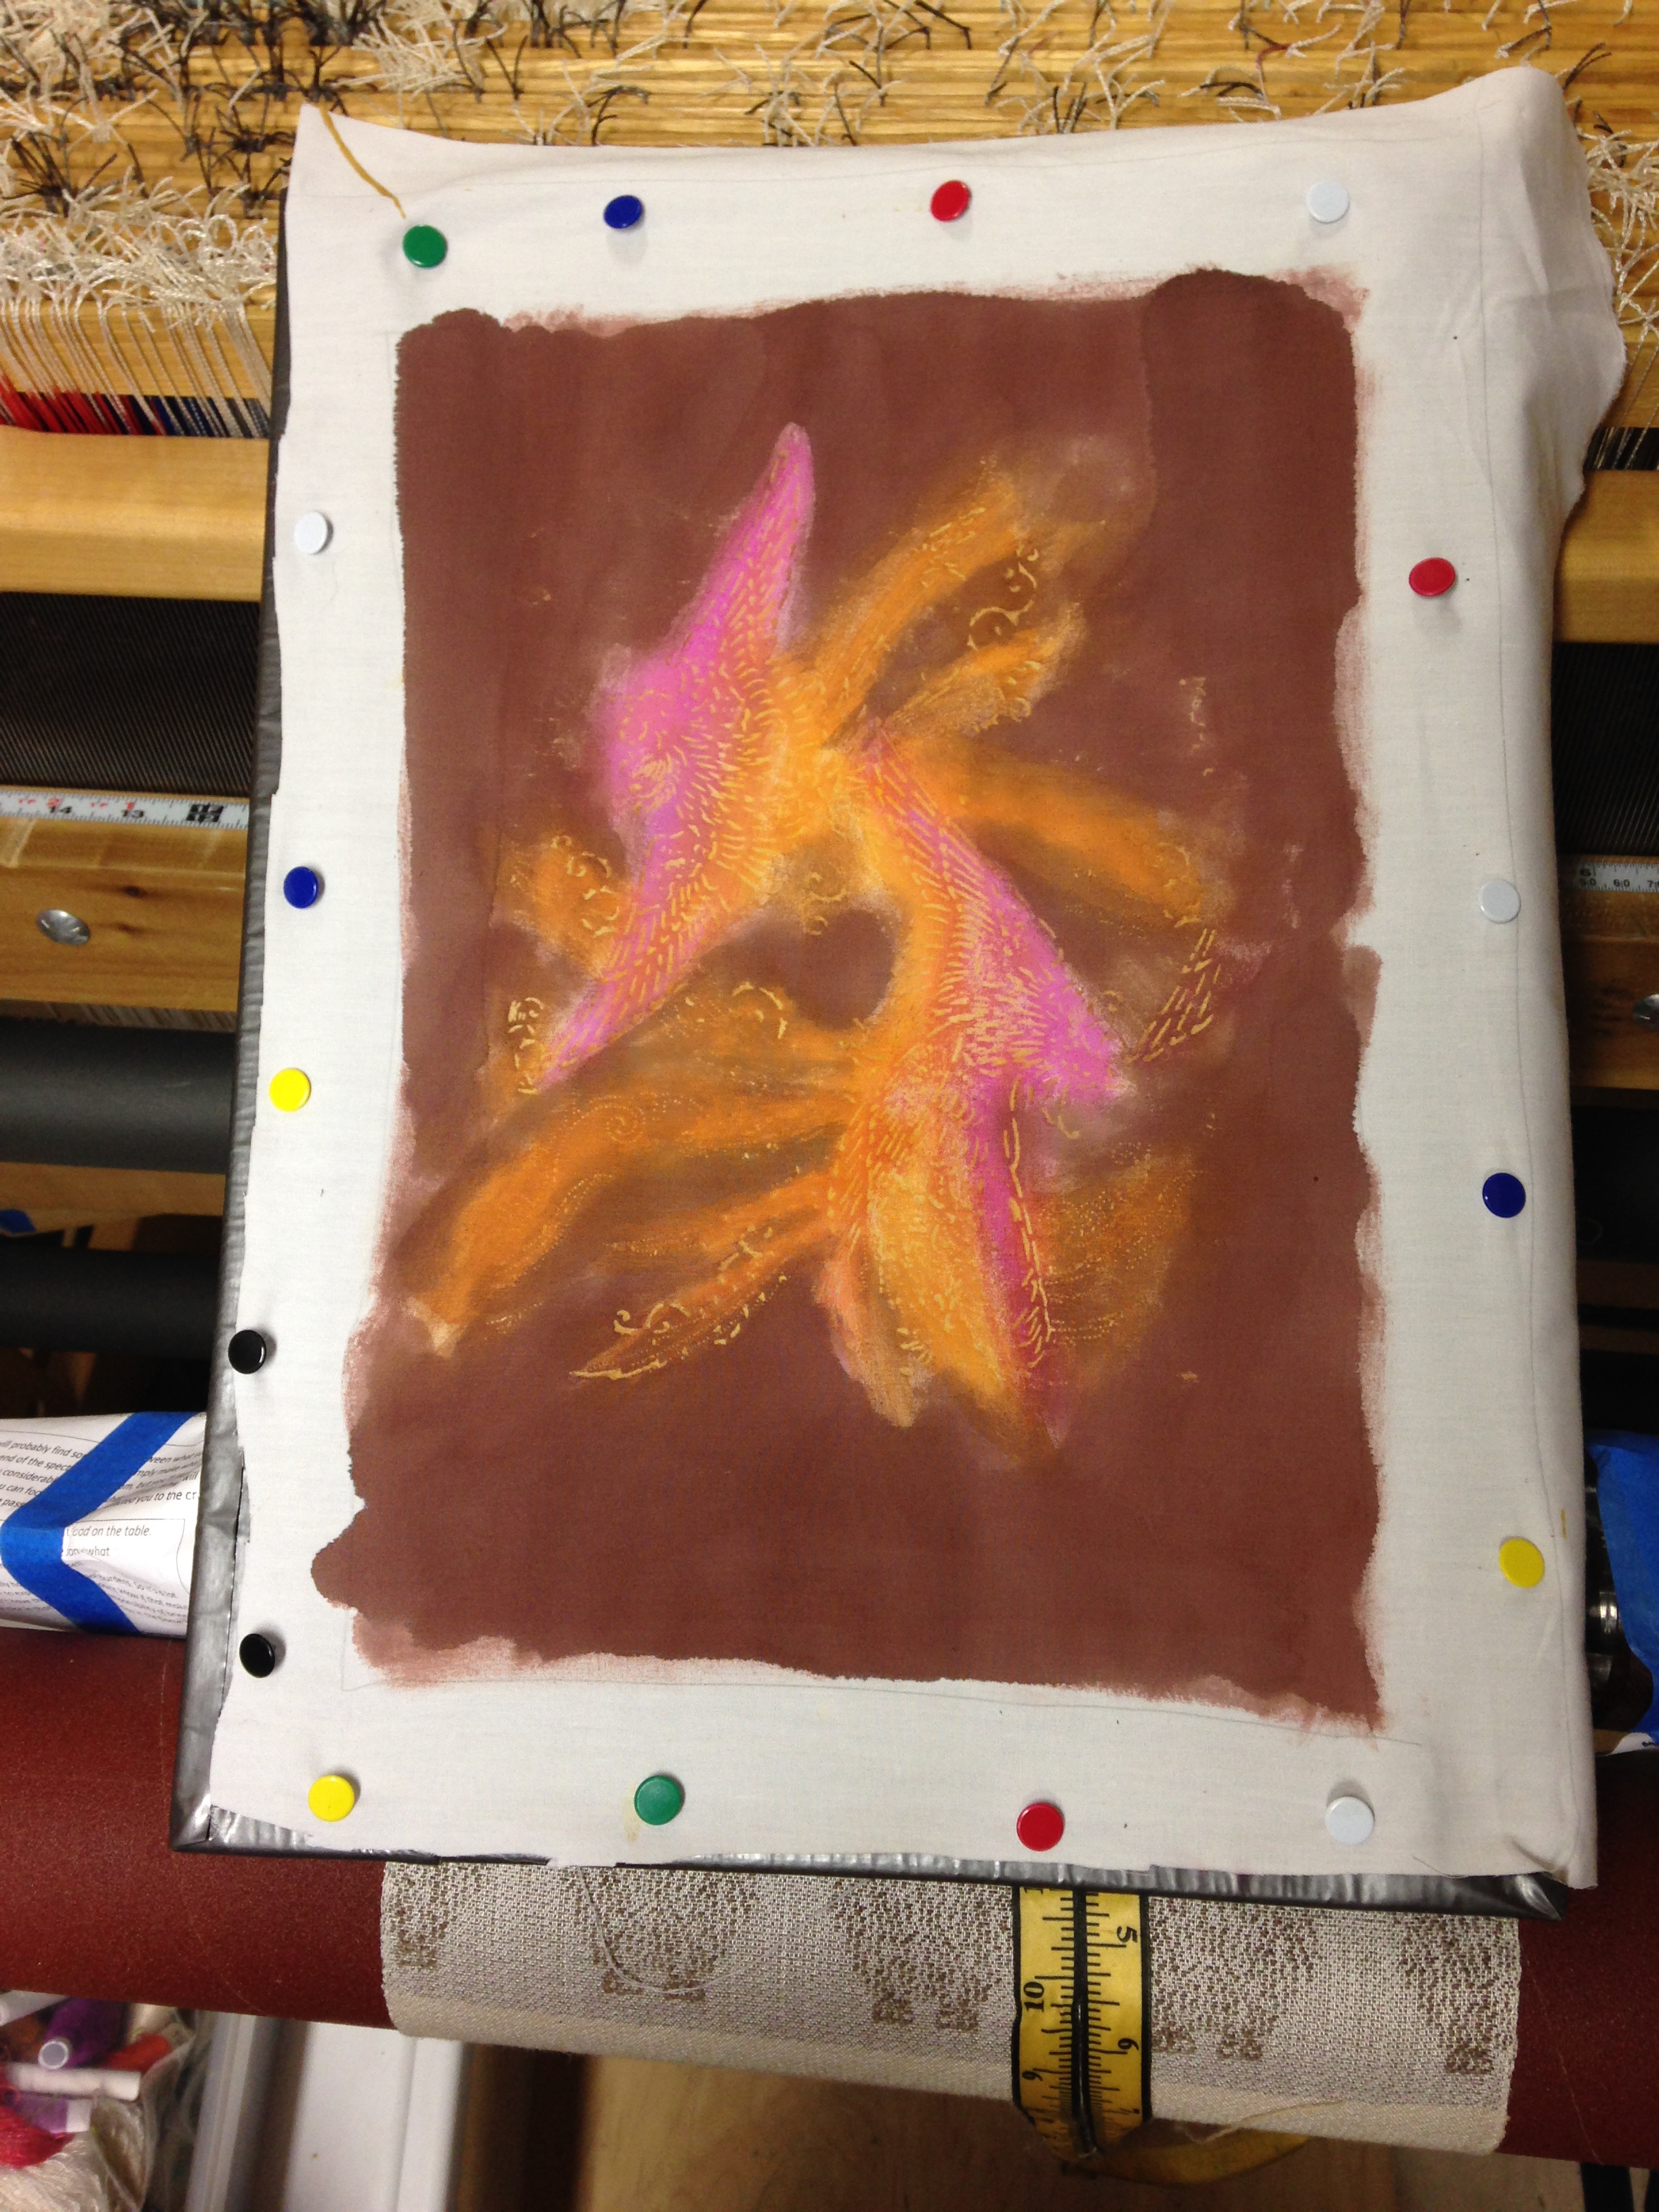
The Japanese way to do it is to use harite (clamps) on either end of the fabric, then put shinshi (bent pieces of bamboo with a pin on either end) into the selvages. The whole collection is then suspended from two pillars, holding the fabric nice and taut, perfect for painting. However, while I had shinshi, I didn’t have harite, or pillars to suspend the whole affair from – and in any case, for pieces so small it would have been serious overkill. So I used what I had lying around.
I can’t wait to see how the new batch came out. None of the pieces are perfect – there are drips of paste and places where a repeating stencil didn’t come out right – but since they are mostly just samples, that doesn’t matter much. I learned a lot while doing them, which is the important part!
Today I might paste up a few more pieces of cloth, but will probably dip them in an indigo vat rather than do elaborate painting. I have only two more weeks of recovery before I have to go back to work, and as katazome isn’t one of my main interests, I don’t want to “waste” too much of my precious time on it. But it sure has been fun to play with, and I love the results!
And the cats? Fritz was delighted to see my friend Alfred on Saturday, as Alfred has big feet – big enough to stick your entire head into, if you’re a shoe-fetishist cat. Here is a video of an ecstatic Fritz, caught in flagrante delicto with one of Alfred’s shoes.

wonderful stencil work and what a cat!! hilarious!
These are amazing – the dye job and Fritz. How in the world do you get the resist in there so perfectly? In a past life I was into batik, and while part of the point of batik is to get cracks, I seldom was able to get as uniform a blockage as I desired. I surmise that you clamp the pattern block to the fabric – does it then get dipped into the paste?
Hi Leslie,
The paste resist is stenciled on. You can get amazing detail with correctly mixed paste! One of my stencils had dots the size of a period (in 12 point font) and they came out beautifully. More on stencils in my previous blog post, and on my katazome pages.