Tien Chiu
Home
About Tien
Honors, Awards, and Publications
Online Teaching
Gallery
Essays
Book
Blog
Dye samples
Home
ABOUT ME
GALLERY
WRITING
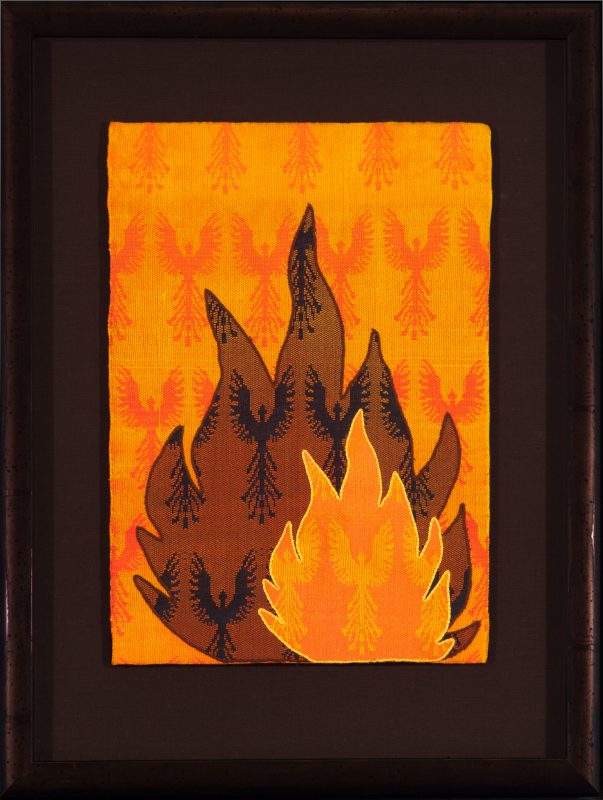
REBORN IN FIRE:
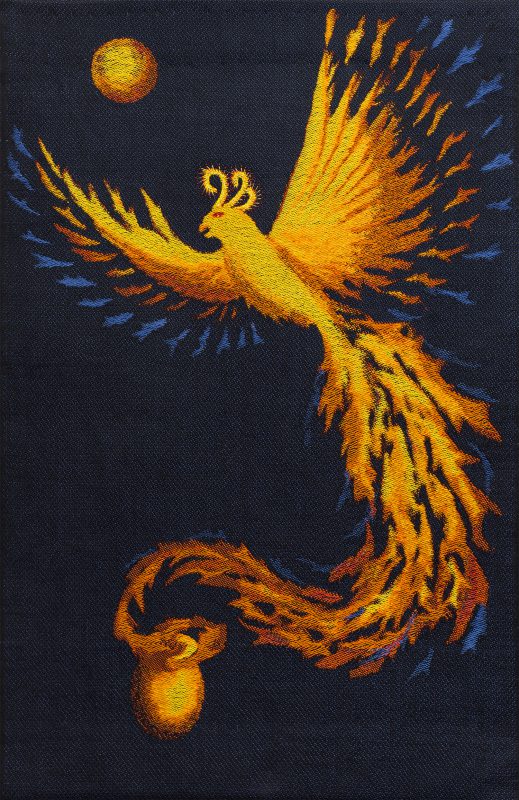
PHOENIX RISING
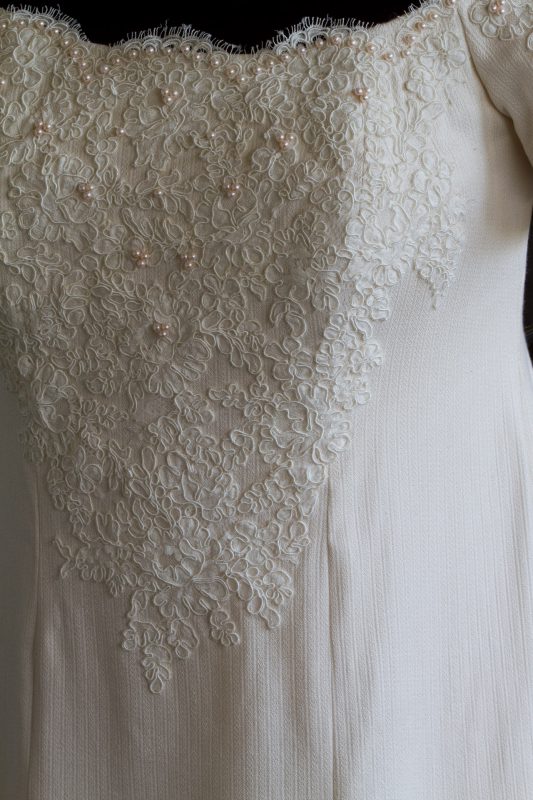
WEDDING DRESS
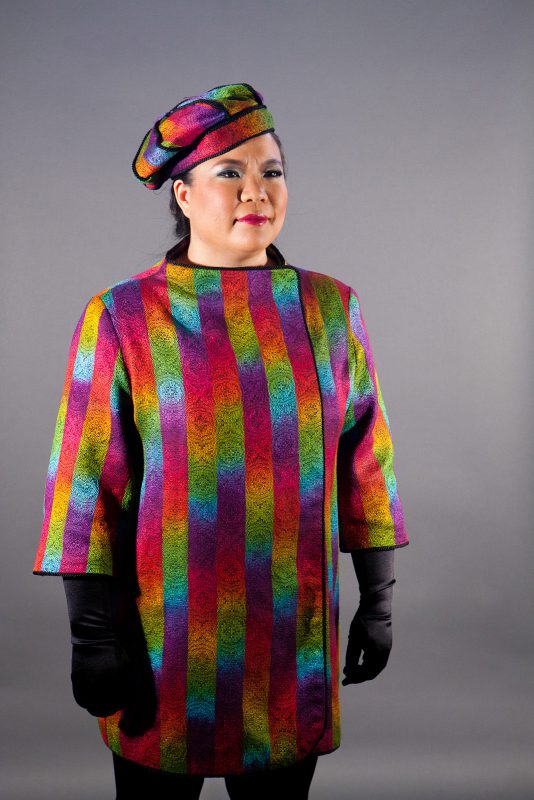
KODACHROME JACKET
Loading Comments...
Write a Comment...
Email (Required)
Name (Required)
Website