The last two days have been quite busy, but I carved out some time to experiment with stenciling on an unwoven warp. I started by weaving a “fabric” using an extremely fine weft yarn that John Marshall had given me – far thinner than a human hair, and so delicate it was difficult to wind onto a pirn. It’s meant for use as a sacrificial weft when printing on warps, and that’s exactly what I used it for.
I wove a very loose fabric using 60/2 silk warp, sett for plain weave at 40 ends per inch, throwing one pick of the superfine yarn every 1/8 inch (in plain weave) to hold the warp in place. I started with a stick header and a couple of inches of weaving that happened to be on the loom anyway, and wove about a yard of very loose “fabric”. Then I wove a half-inch of more normal fabric, inserted a stick, and threw a few more picks to hold the stick in place.
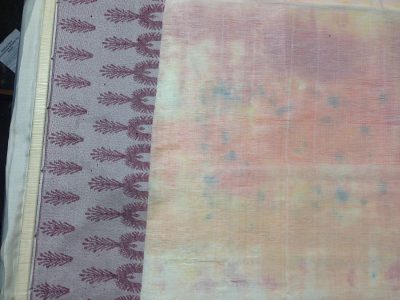
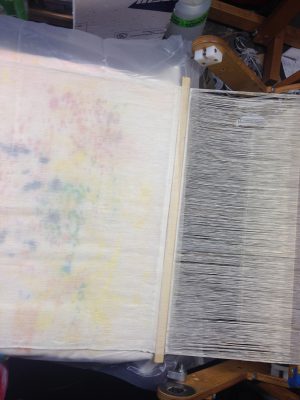
Here’s what it looked like, stretched out on a table and ready for stenciling:
To keep the warp taut during printing, I attached two weights to the header and dropped them off the side of the table:
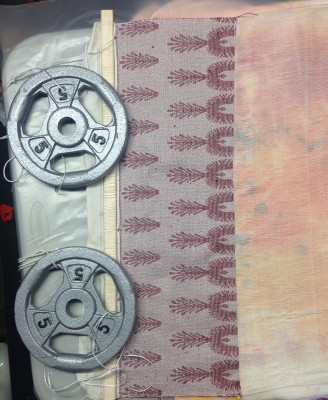
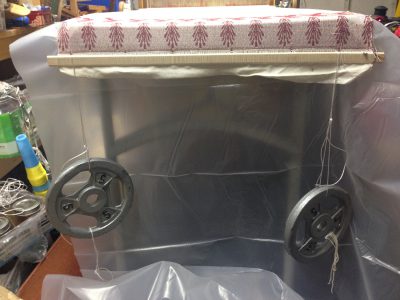
Since the back side of the warp was still attached to the loom, I only needed to weight the end away from the loom to keep the warp taut.
Next, I laid out the stencils on the warp:
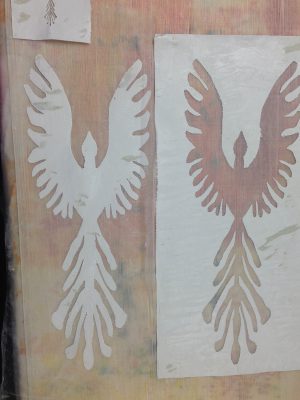
I decided not to use the tiny stencil, because the detail was obviously too fine to work. So I laid out the big ones and got to work. I diluted some screen printing paint to the consistency of cream, and applied gold, scarlet, and black paint to the warp, like this:
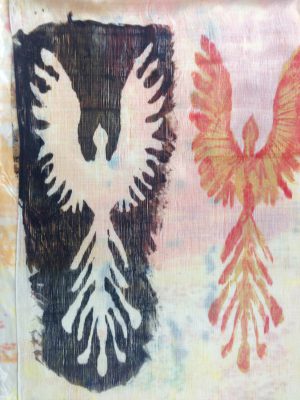
About two seconds after I dabbed the first paint on, it dawned on me that this wasn’t going to work, because the paint would make the threads stick together permanently, and I’d wind up with a glued-together mess. Oops!
However, I’d already started, so I kept on with it, just on the off chance I could make it work. After finishing the stenciling, I took some paper towels and blotted the excess paint off the warp. I didn’t expect it would work, but it might improve the odds somewhat. Then I ran off to work.
At lunchtime, I got home and discovered that the paint wasn’t quite dry yet. More precisely, it was dry enough not to smear, but still pliable. A possibility! I tried pulling out some sacrificial weft yarn, which (to my great surprise) came out easily. Hot dog! I quickly pulled out the rest, resulting in this:
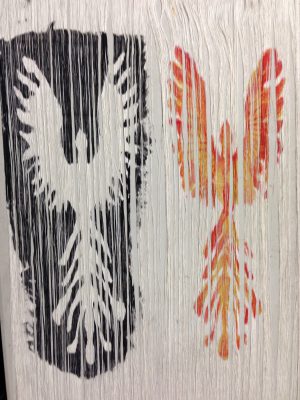
I was quite pleased to see that the paint had coated each strand evenly – there were no white spots. (Using a fine yarn probably helped, as did the blotting with paper towels earlier in the day.)
Next, I wound it back onto the loom. I unfortunately did not wind on with even tension, so I had to weight quite a few threads. But I did get the warp on the loom, and started weaving it up in plain weave:
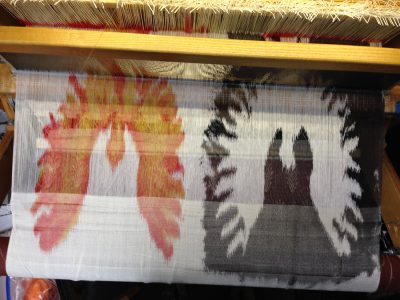
…and finished weaving it yesterday evening, by staying up way past my bedtime:
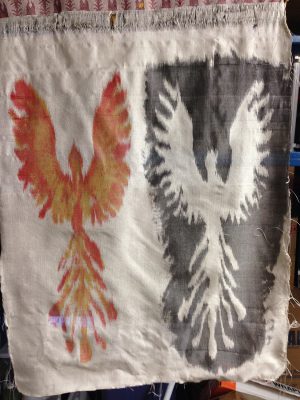
Finally, I cut it into two pieces, and dyed the gold/red phoenix cloth with a yellow-orange background, and the black cloth with scarlet and orange:
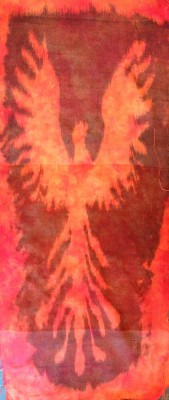
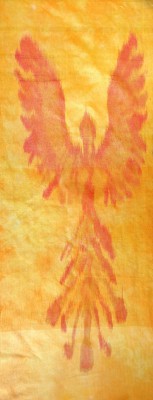
While both samples have huge technical flaws, the overall idea appears sound. I’m particularly fond of the phoenix on black background – the black “pops” the red and orange of the phoenix, the feathering around the edges suggests flickering fire, and there is enough red and orange in the black background to suggest smoke and ash. I really, really like this.
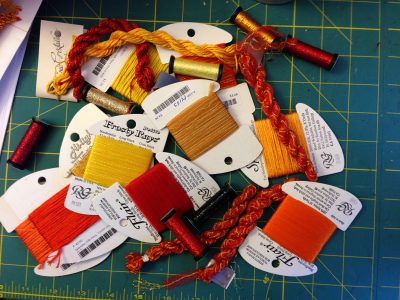
However, I think some embellishment might add interest to the woven cloth. I have a ton of beads, and went out and bought these delectable embroidery threads today:
I’m going to experiment on the samples over the next few days, in between preparing and printing a larger phoenix stencil – this one will be eighteen inches wide and nearly sixty inches long. I may have to prepare a bigger printing table!
I am thinking of weaving a panel or two for the Convergence yardage exhibit. I don’t have time to make a kimono, but I can probably get the yardage done in time. More to ponder.
And, to round out this post, I finally realized why I’ve been getting so little ironing done:
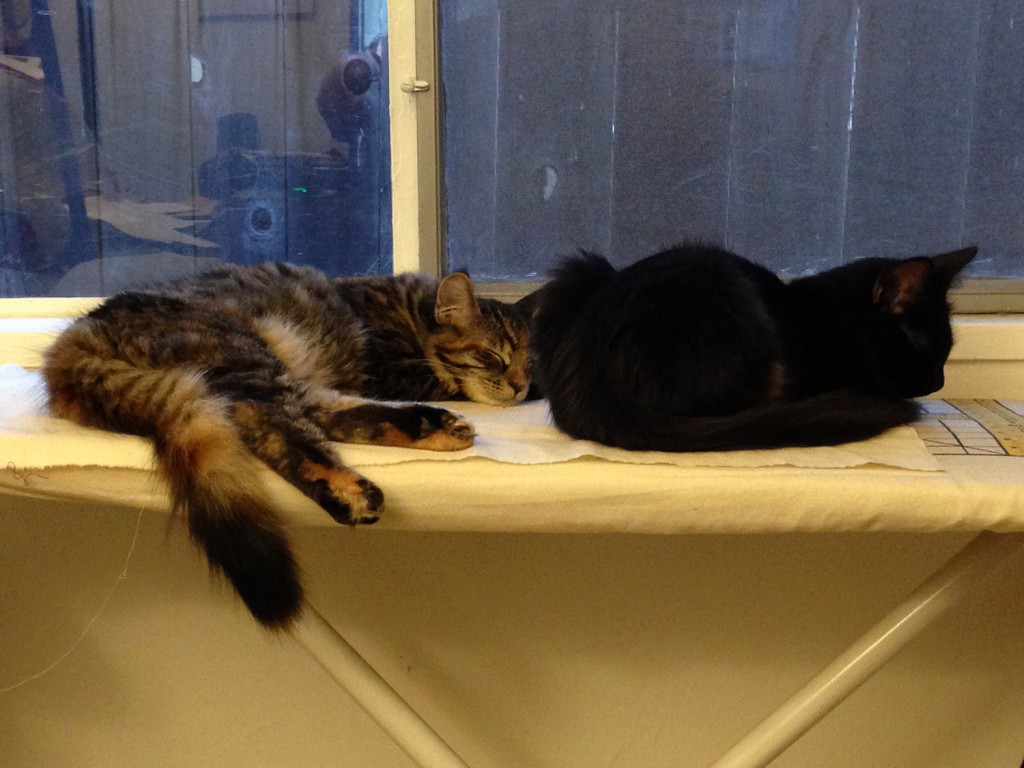
They do look blissful, though!

These are amazing. I like the red/black best too. But I’m curious – what weft/structure do you use for weaving? Even before over dyeing they appear almost totally warp faced.
Hugs for the kittens!
Hi Sheila,
They’re actually plain weave with a weft the same size as the warp. The original colors are quite strong, though, so perhaps that’s what you’re seeing?
Wonderful, I am looking forward to seeing the next step of embellishment, and the larger phoenix.
Just checking do you think it is important to remove the excess weft before the dye dries, or was this just because of the specific dye you used?
Hi Marion,
With dye I don’t think it would be a problem, but I was using paint, which (unlike dye) tends to stick things together when it dries. I don’t know if it would have been OK if I had left it to dry – may try experimenting with that sometime later.