I had a really interesting conversation a week or two ago with Hideo Mabuchi. Hideo is at Stanford, where he is a professor of applied physics, ceramicist, faculty head of the Stanford Arts Institute, and (most relevantly from my perspective) a weaver. He recently got a TC-2 loom for Stanford, and since Stanford, California College of the Arts, and I are the the only people I know of in the Bay Area with a TC-2, I thought we ought to meet.
Hideo is generally interested in bridging the divide between STEM and art/craft, so we talked a bit about his plans for their TC-2. He had a whole bunch of fascinating ideas about innovative uses of a TC-2 combined with technology – which I found frankly much more personally compelling than trying to figure out how to weave interesting imagery. I am more of a researcher than an artist (not surprising given that both my parents were scientists and I majored in math at Caltech), so my brain is now full of all sorts of crazy ideas, most of which will require help from someone on the STEM side to implement.
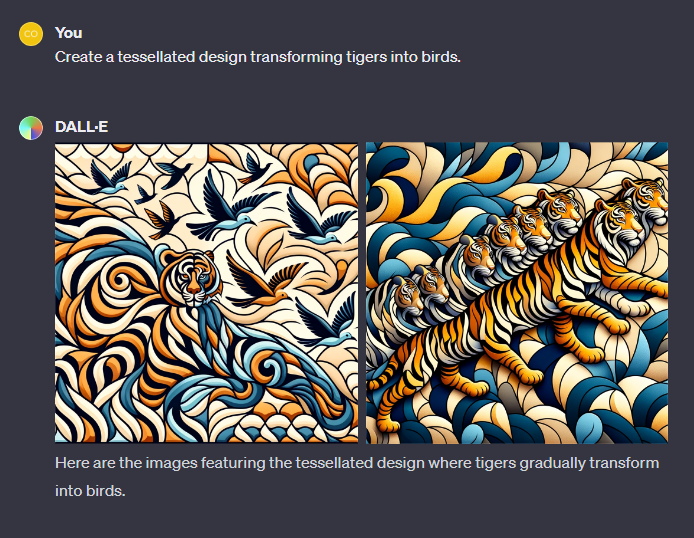
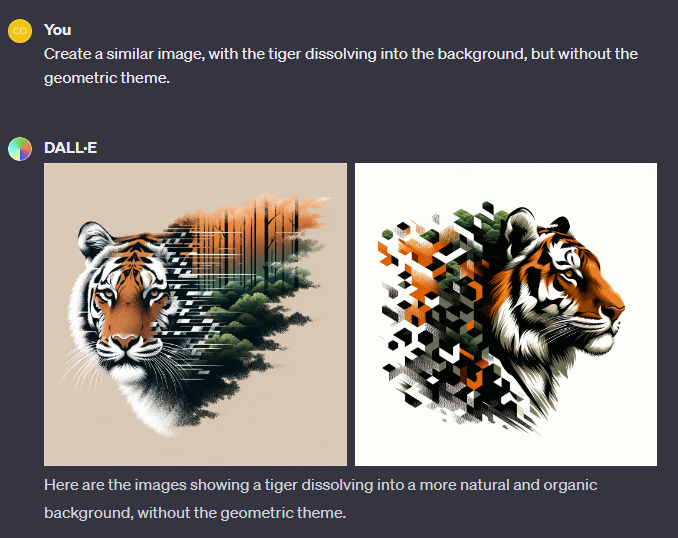
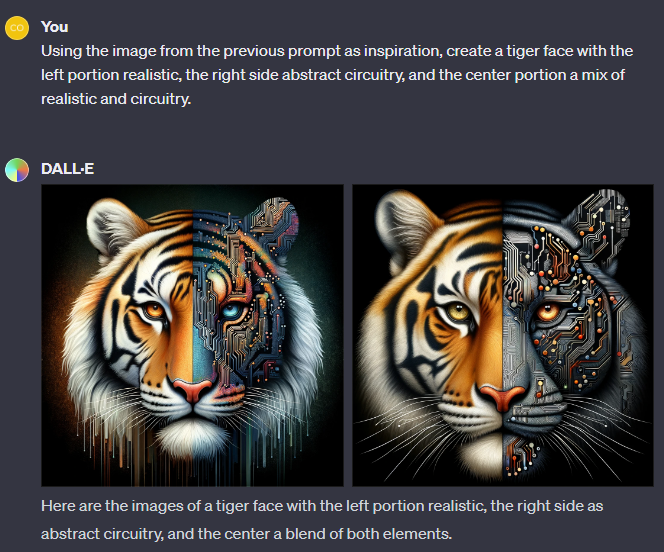
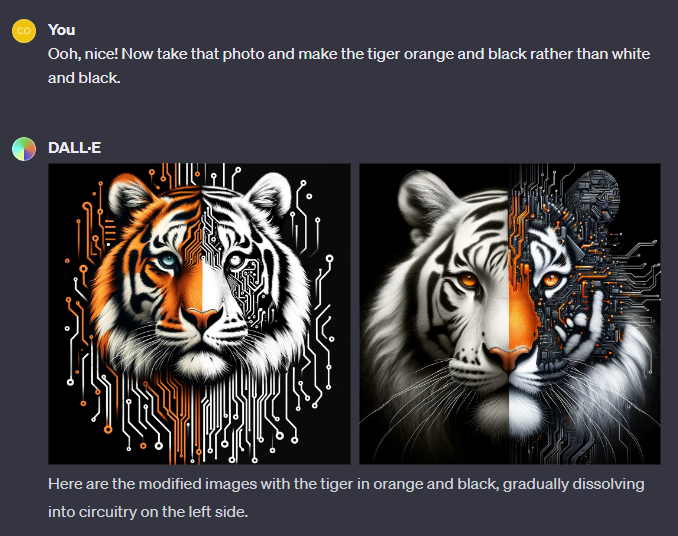
The first step, though, is doing the AI tiger project. Hideo helped connect me with a first-year EE PhD student who’s interested in helping out with the electronics portion of the tiger. She’s away on spring break, but once she’s back we’ll meet up and talk about possible ways to implement the “cyborg” half of the tiger. It will be fun to collaborate with her!
I also have, stewing in the back of my mind, an urge to weave a book. A flag book, to be precise. Here’s an example, photographed by Jimmie Quick:
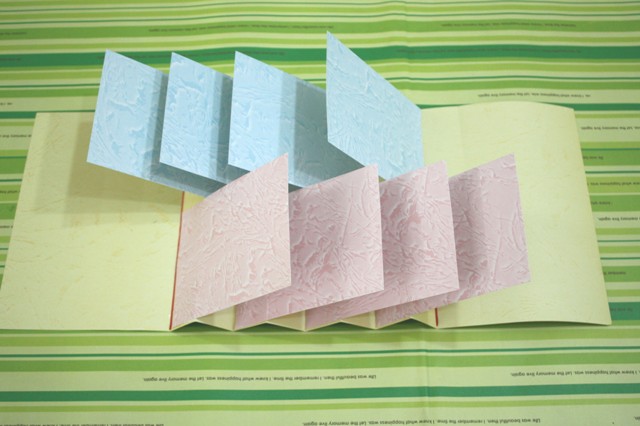
The basic idea is an accordion spine with tabs pasted onto the spine in one direction, then (below) in the other. Two sets of flags is the minimum, but often there are a lot more flags.
I think it should be possible to weave these in double weave, perhaps using a shrinking weft for the spine, to make a woven origami book. I’m not 100% certain it will work but it’s certainly worth a try. If I can do the pages in double weave I could put inserts into each “page,” which would open up all sorts of possibilities. I could do pockets and put imagery, coins, ?? into each pocket!
I have noticed that I am generally more interested in figuring out techniques and structures than in creating something with a message (i.e., art). I had aspirations towards being an Artist at some point, but frankly, I think the kind of digging I’m currently doing is much more interesting. I look forward to exploring more STEM crossovers and intriguing three-dimensional structures!
In powerlifting news, I started with a new coach two and a half weeks ago. Her name is Leah, and she’s a head coach with Barbell Medicine. They have a verrrry interesting podcast where once a month or so they dive in-depth into a weightlifting-related topic or issue. They read through all the medical research available, then offer their conclusions based on actual study results, with citations. In short, they are a font of science-based, evidence-based powerlifting expertise. That is extremely rare in a sport where most training is pretty idiosyncratic.
Anyway, Leah’s been coaching powerlifters for nine years and is a great powerlifter herself, competing both nationally and at Worlds. Just as importantly, she has worked with quite a few older lifters. Most powerlifting trainers are young(ish) men coaching young men. Nothing wrong with that, but a 53-year-old woman is going to have different training concerns than a 23-year-old man. In particular, I have a higher likelihood of injury and a slower recovery time than young’uns, so it’s good to have a coach who can help me find the right training cadence and intensity.
I’m VERY happy with how training is going so far. It’s very different from anything I’ve done earlier – the main difference being that every session is calibrated based on how much I can lift that day – as opposed to yesterday, or at the last meet, or my all-time record. So if I’m having a bad day and can’t lift as much as usual, then the weights I’m lifting get scaled back. If I’m having a good day, heavier weights are in order. This means I’m always lifting at an appropriately challenging weight, and vastly reduces the chances of injury. TOTALLY psyched for this!
I also realized that I’ve come a looong way in the 5.5 years since I began powerlifting. I’ve more than tripled my strength (85-95 lb squat as a beginner, 310 lb today), lost about 4 inches off my waist, and gotten massively more muscular. I’ve even gone up a bra size – not because my boobs have changed size but because my back and shoulder muscles are now enormous!
While I haven’t lost an ounce, I’m pretty sure I’ve exchanged at least 20 pounds of fat for muscle. I’ll never be a sports car, but I’m rather enjoying being a bulldozer.
My next powerlifting meet is Saturday, May 4. Five and a half weeks out. I’m looking forward to this.
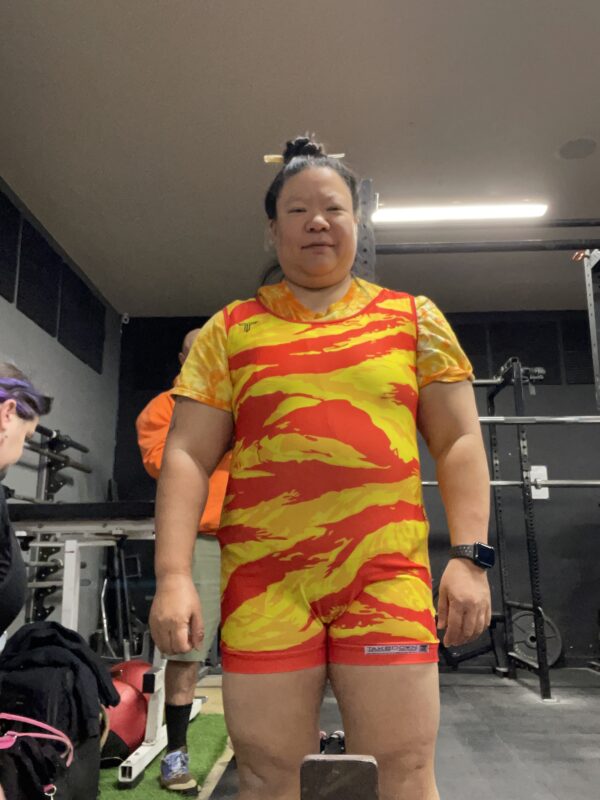
Meanwhile, from last week’s workout, three reps of deadlift at 245 lbs. Easy as pie.